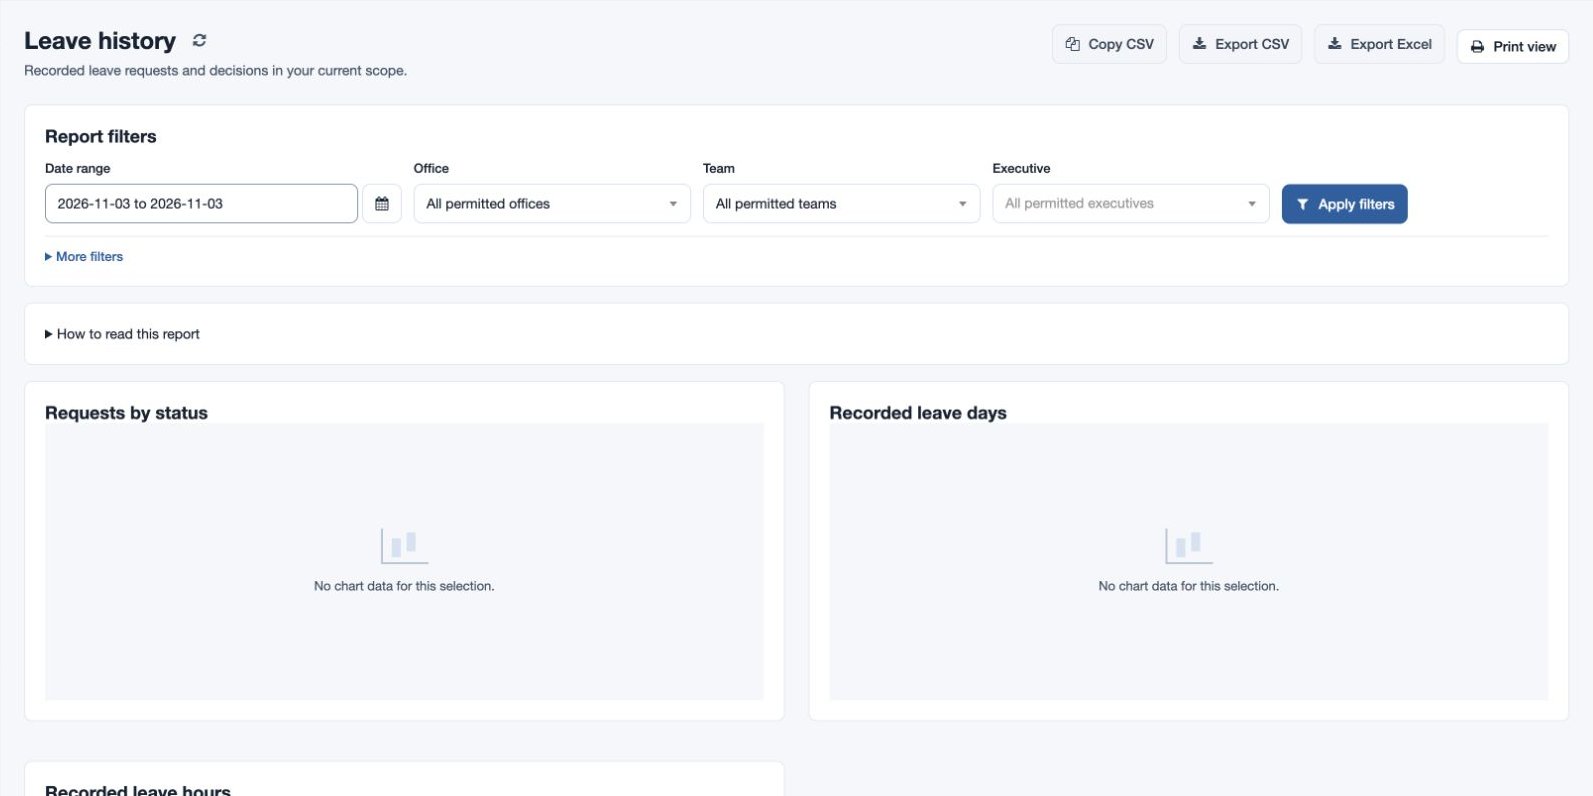
Leave history
Review recorded leave requests and decisions across your scope.
Filter leave history
Open Reports → Leave history. Choose a date range covering the full leave period and filter by employee, team or office as needed. Apply the filters and review status, decision by, recorded days and hours separately. Search or sort the displayed records and download when your role permits.
For example, review the fictional North team’s requests for April and follow up on pending decisions. If a request is missing, widen the date range and check employee, office, team and report permission. Leave Transactions offers another employee-focused audit view.
The records include Request ID, Employee, Email, Team, Office, Leave type, Applied at, From, Until, Recorded days, Recorded hours, Status, Decision at and Decision by. The range must contain the full request period: a request that starts before or ends after the selected range will not appear. Charts group requests, recorded days and recorded hours by status; do not combine days and hours into a single quantity without understanding your organization’s conventions.
Expand More filters to search by employee name or email. Use All chart values to inspect the chart data, and Copy CSV, Export CSV, Export Excel or Print view where offered; download permission is needed for exports.