Email templates
Create and edit visit reply email templates.
Full administrators can open Settings → Email templates and maintain the messages available for office visit replies.
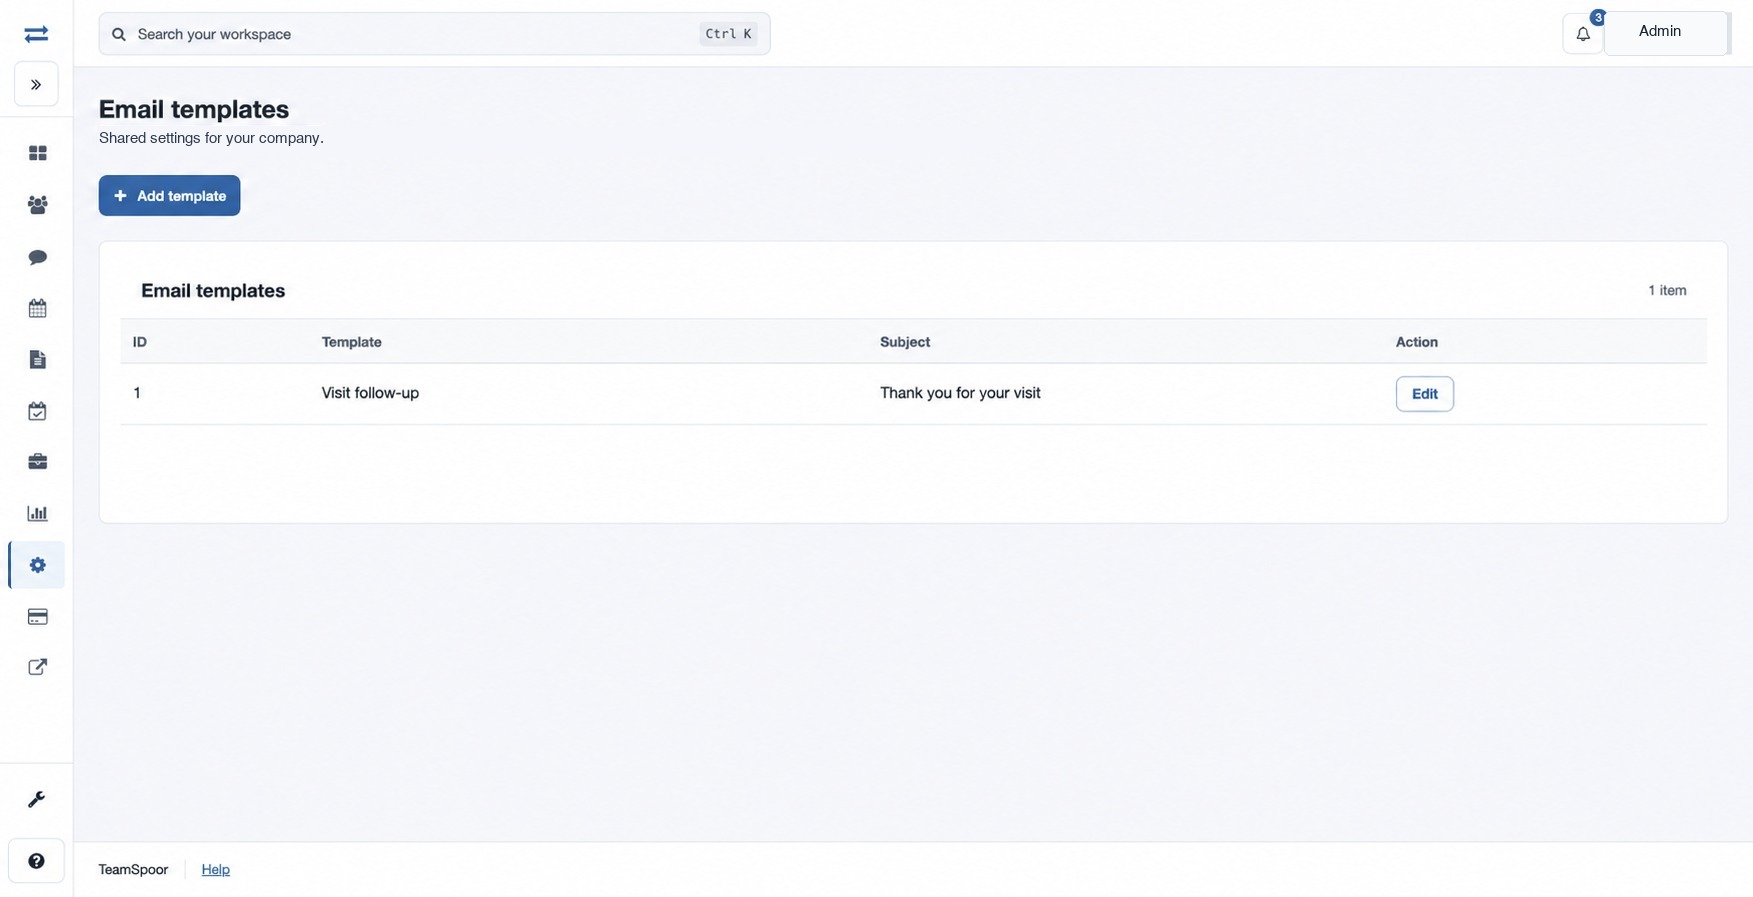
How to use this page
- Choose Add template, enter a Name, and select Add template.
- Select Edit beside the template. Enter the Subject and Email content.
- Personalize content with the displayed tags:
{{executivename}},{{executivephone}},{{executiveemail}},{{customername}},{{customerphone}},{{customeremail}},{{customercompany}}, and{{visitdate}}. For example, start with “Hello {{customername}}”. - Select Save template. Open an office’s Manage form and select it under Visit reply email template when appropriate.
If the template is missing from the office selector, check that it was saved and reopen the office form.
Template controls
Name identifies a newly created template. In its editor, Subject is the message subject (up to 60 characters) and Email content is the message body. The visible tags insert the corresponding executive, customer or visit information. Save the editor after creating the template; creation and editing are separate steps.
A template is named when added; the editor changes its subject and content. If an office still uses another reply, open that office’s Manage page, choose the saved template and save the office. The template editor does not offer a remove action.