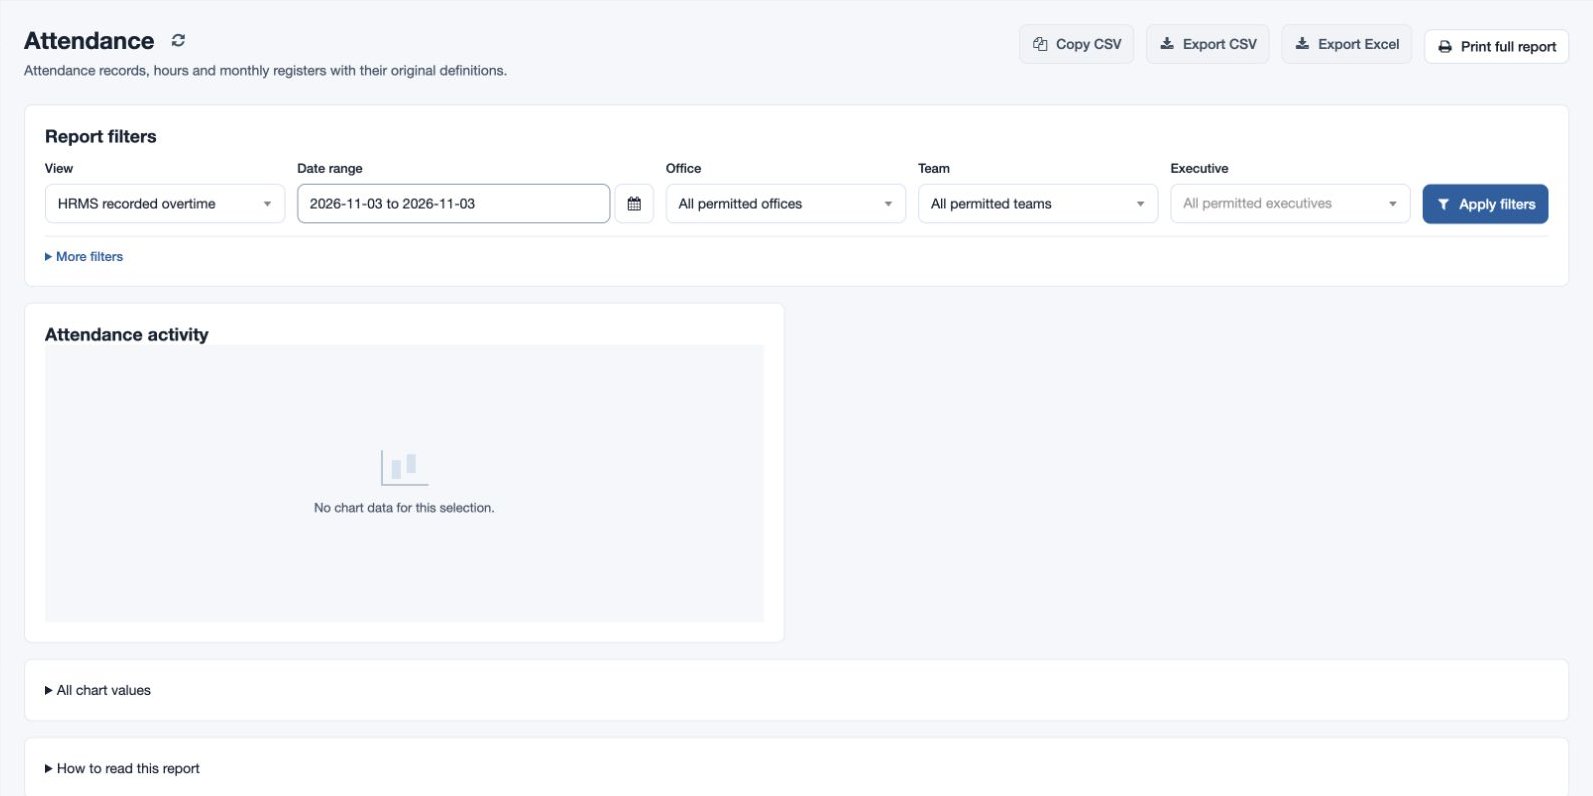
HRMS recorded overtime
Review the HRMS recorded-overtime view.
Open and filter
Open Reports → Attendance and choose HRMS recorded overtime in View. The HRMS feature and HRMS attendance-report permission are required for this view.
- Choose the Date range (From through Through).
- Choose Office, Team and Executive, or leave each at all permitted values. Use More filters for employee name or email when needed.
- Choose Apply filters. Review the charts and records; use column sorting and scroll the records table horizontally when needed. Expand All chart values for accessible chart figures and How to read this report for the view’s notes.
Read the result
Columns: Employee ID, Employee, Email, Team, Office, Recorded overtime hours, Calendar shift hours, Days with check-in and Missing clock-outs.
Recorded hours alone do not confirm paid overtime. Review shift settings, incomplete punches, eligibility and overtime payout policy.
Export and troubleshoot
Copy CSV, Export CSV and Export Excel require report-download permission; Print full report opens the printable report. These actions reflect the selected view and permitted scope. For example, select fictional employee Mira Rao and one workweek, then investigate an unexpected result in the original attendance record. If the result is unexpected, check the period, employee, office, team, report timezone and permissions, then compare the underlying records. Use Attendance Regularization for an authorized correction.