Skip to content

Put the field day back in order.

TeamSpoor route map software connects recorded location points, stops and available visit events so you can investigate an executive’s journey for a selected day.

  • Chronological location records
  • Visit and attendance layers
  • Marker details and recorded times
Inside TeamSpoor
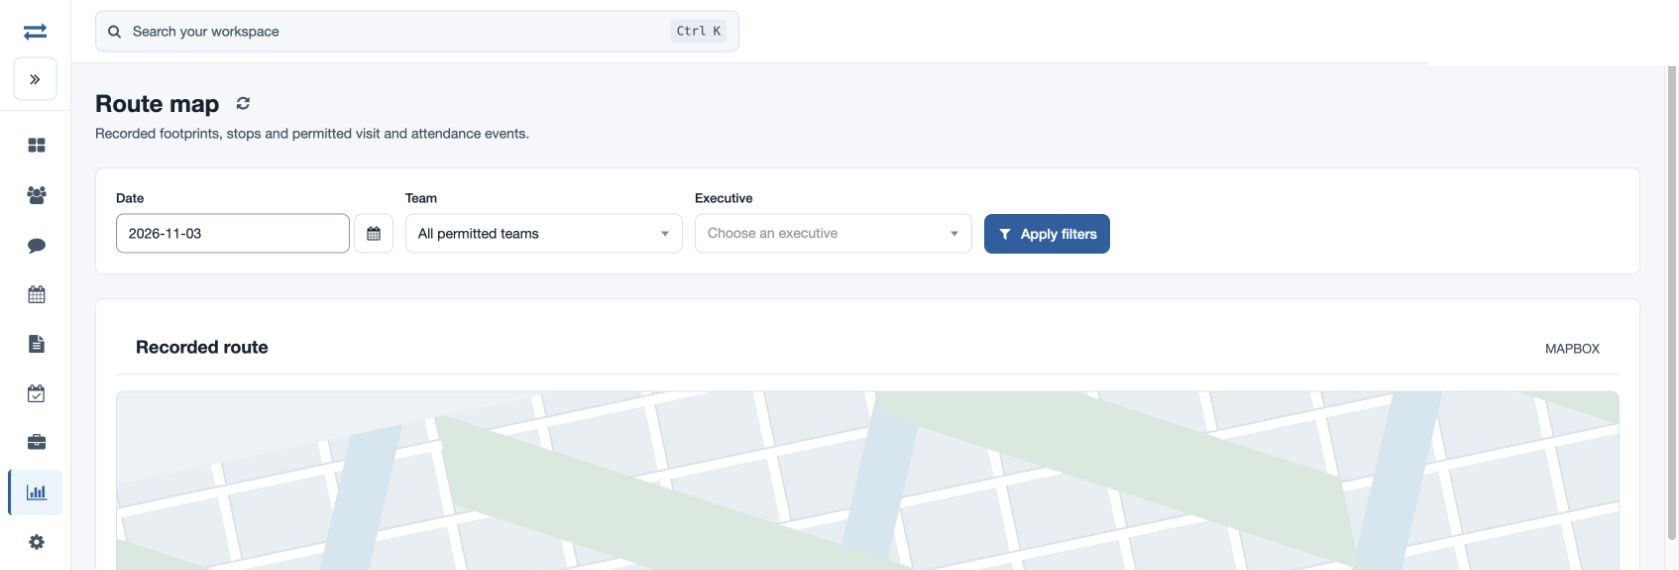
TeamSpoor route map with date, team and executive selection
TeamSpoor screen · sample dataOpen full size
  1. Recorded points
  2. Visit context
  3. Journey review
  1. 1Select the day
  2. 2Choose the executive
  3. 3Inspect the layers
  4. 4Open the context

Understand the journey around the customer work.

When a manager needs to understand a field day, the sequence matters. A latest location cannot explain the earlier customer round, and a distance total cannot show the recorded stops.

TeamSpoor Route map brings recorded points and permitted event layers into a day-by-day view for an executive. Use the map for orientation and the location table for exact record times and details. Lines connect recorded points; they represent route history rather than turn-by-turn driving directions.

Product walkthrough

Read the route as a sequence of recorded events.

Focus on one executive and one day.

Set the date, team and required executive, then apply the filters. The map uses recorded footprints within the login window, with visit, attendance and break layers where the relevant permissions and evidence are available.

  1. Choose the right day

    Use the date relevant to the customer round you are reviewing.

  2. Set the executive

    Only employees in your permitted scope are available.

  3. Inspect the layers

    Switch between the available recorded event categories to understand the sequence.

Read the step-by-step guide

Reports → Route map

Inside TeamSpoor
TeamSpoor route history and selectable map layers
TeamSpoor screen · sample dataOpen full size
Why it matters

The review starts with a specific journey instead of a team-wide location snapshot.
Connect a point with the event behind it.

Select a marker to inspect its details. The location table lists record, recorded time, layer, coordinates and details, giving a more precise way to read the sequence than the map alone.

  1. Read the timestamp

    Use Recorded at to place the point in the day.

  2. Identify the event

    Check the layer and details to distinguish a footprint, stop or available visit event.

  3. Open the visit separately

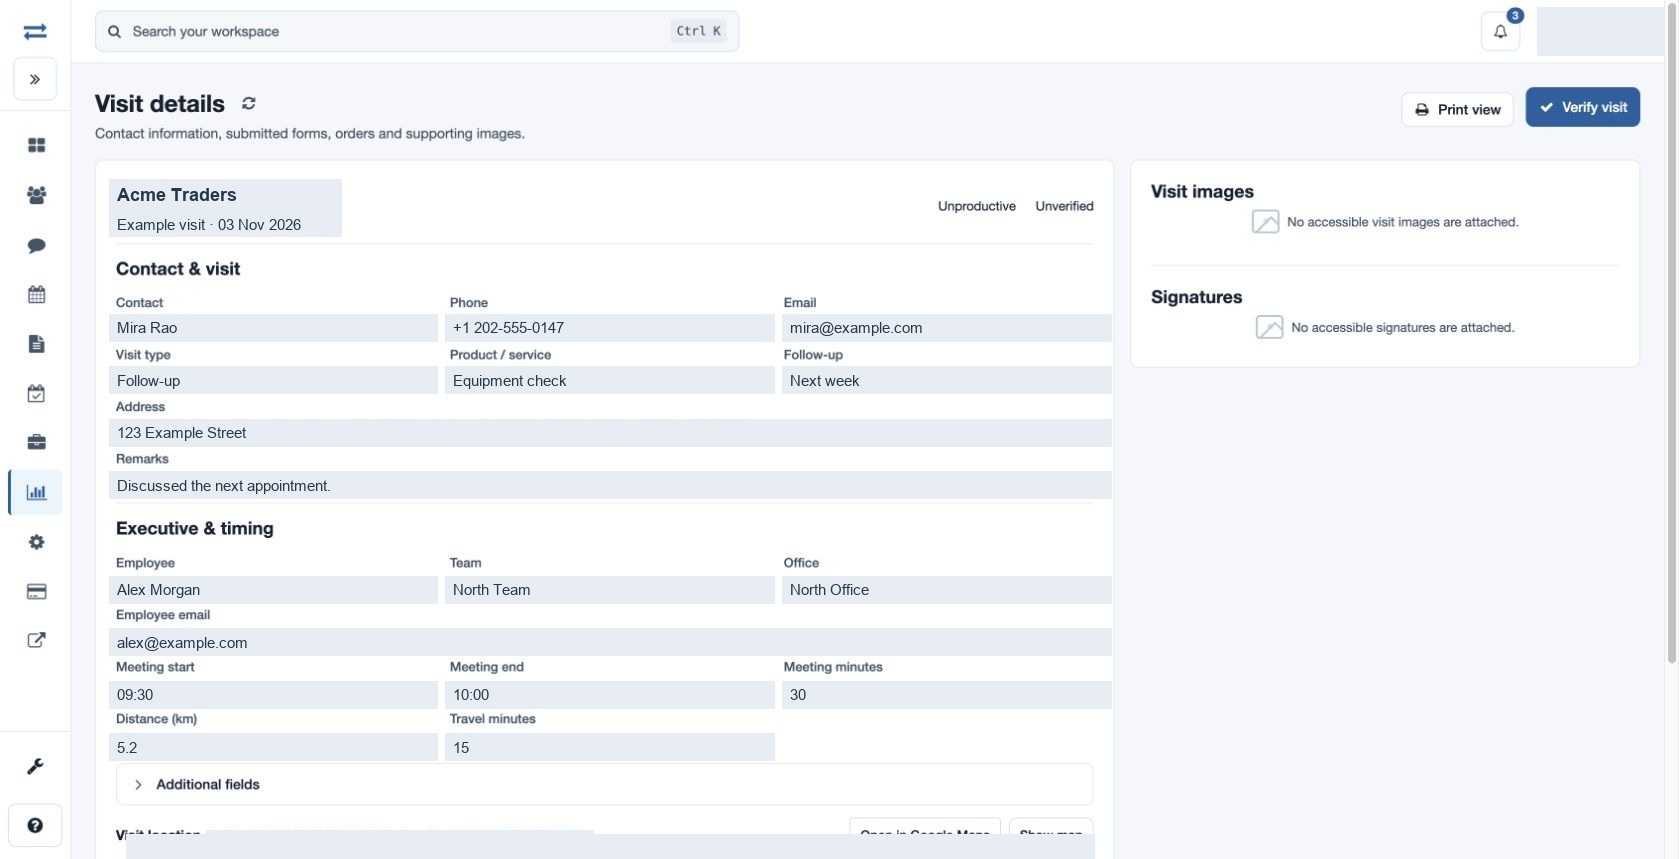
    Use the customer visit record when the outcome or submitted evidence is the next question.

Read the step-by-step guide

Route map → Marker / Location records

Inside TeamSpoor
TeamSpoor visit record with recorded coordinates and customer details
TeamSpoor screen · sample dataOpen full size
Why it matters

A location becomes a useful investigation point when its time and event are understood.

Use the right report for the next question.

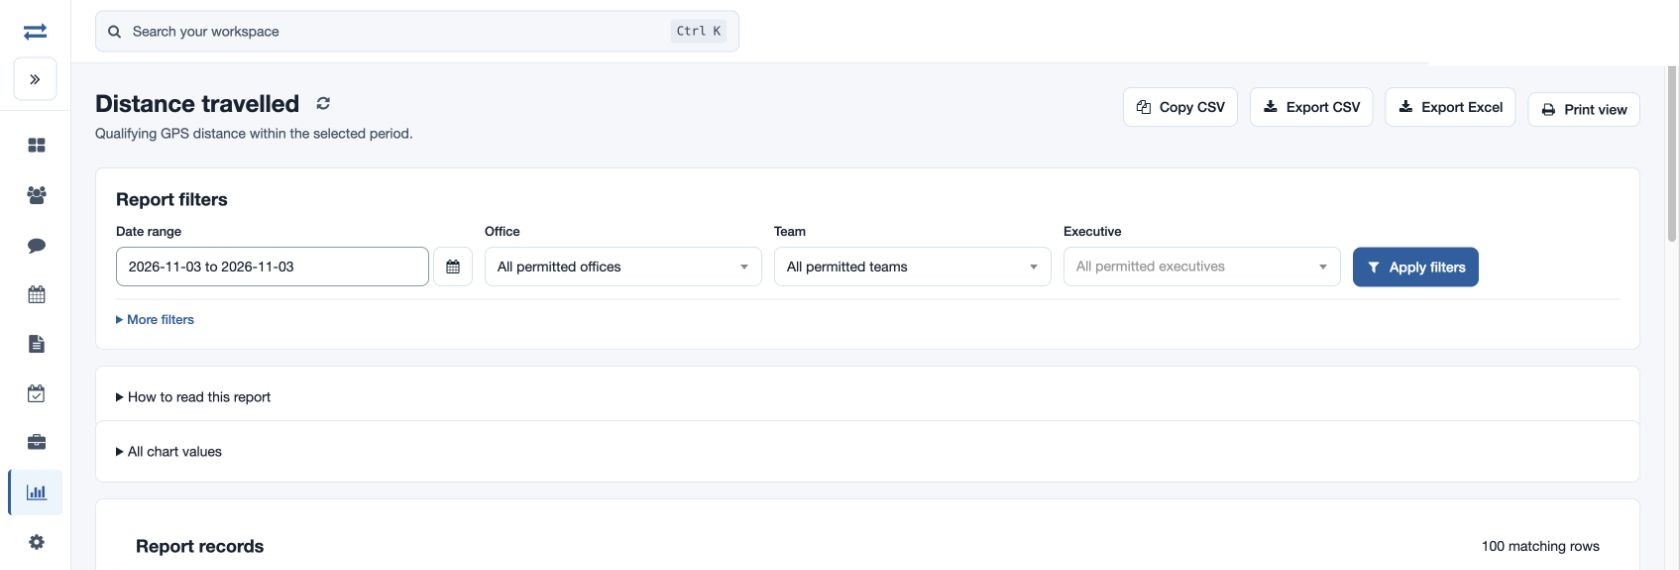
Use Distance travelled for qualifying recorded GPS totals and Visits for customer outcomes. Keep the same executive and period when moving between reports so the evidence remains comparable.

  1. Check gaps

    Missing points or poor GPS accuracy can leave an incomplete path.

  2. Read distance correctly

    Qualifying GPS distance is a recorded measure, not a road-route calculation.

  3. Use the supporting report

    Map screens do not directly export CSV; use the relevant permitted report download.

Read the step-by-step guide

Reports → Distance travelled / Visits

Inside TeamSpoor
TeamSpoor distance travelled report with units and qualifying readings
TeamSpoor screen · sample dataOpen full size
Why it matters

Route history, distance and customer outcomes can inform one review without confusing their meanings.

Example workflow

Investigate a gap between two customer visits.

A manager wants to understand the recorded journey around an afternoon customer round.

Illustrative scenario · not a customer result
  1. Select

    Open the date and executive

    Choose the day in Route map and apply the team and executive filters.

  2. Inspect

    Read the intervening records

    Check recorded footprints, stops and available visit layers. Use the location table for timestamps and details.

  3. Discuss

    Bring the context to the review

    Open the relevant customer visits and ask the executive about any remaining gap. Check recording quality where points are missing.

What changes

The conversation is grounded in the available journey records and identifies what still needs explanation.

Choose the location view for the question.

Each view answers a different part of the field-day review.

Swipe across the table to compare all columns.

QuestionUseRead alongside it
Where was the latest recorded position?InstaTrackRecorded time, age, accuracy and device context.
What sequence was recorded during the day?Route mapLocation table, layer details and recorded timestamps.
What qualifying travel distance was recorded?Distance travelledUnits and qualifying GPS readings.
What happened at the customer?Visit detailRemarks, meeting outcome and submitted evidence.

Put it to work in your team.

Use the same connected process in the customer interactions your team handles every day.

01

Service supervisors

Review the recorded journey around a scheduled service visit and discuss travel or timing questions with the employee. Pair map evidence with the submitted visit record before changing the operational plan.

02

Field sales managers

Inspect the journey behind a customer coverage round. Compare planned stops with recorded visits instead of using route length alone as a measure of sales effectiveness.

03

Operations and expense review

Use timestamps and qualifying distance reports to investigate an exception. Decide which distance source the reimbursement policy requires, and check its units and recording rules before comparing employees.

Make it practical

Try it with one real field workflow.

Use a representative field day in the pilot, including a stop and a customer visit. Check that the reviewer can explain the available event sequence and identify the customer record.

Route visibility depends on the feature, permissions, map provider and recorded GPS evidence. Confirm your device setup and recording conditions before using the view in a daily management process.

Your evaluation checklist

Questions, answered

The details that help you decide.

Need to walk through your own process?

Talk to the TeamSpoor team
Is the route map a route optimizer?

No. The route map displays recorded GPS positions and related events. Lines connect the recorded points and do not provide driving directions or calculate an optimized visit sequence. Use beat planning to organize intended customer stops.

Why can a route appear incomplete?

The app may not have supplied qualifying points, GPS accuracy may be poor, coordinates may be invalid, or access may limit the layers available. Check the selected employee and date as well as recording conditions before interpreting missing movement.

Can I see visits and attendance on the route?

Where recorded data and your permissions allow, visits, breaks and check-in or check-out markers can appear as additional layers. Open the corresponding record for business context rather than treating a map marker as a complete visit report.

Can I export the route map as CSV?

The map screen does not provide a direct CSV export. Use the relevant field report for permission-controlled downloads. The location table remains useful for reviewing the individual records represented on the map.

See how it fits your field team.

Bring one real workflow to a TeamSpoor trial or demo.