Engage by ZNICRM is a tool which helps you into converting website traffic to leads & opportunity. It has set of tools which, will help you in generating more leads from the existing website traffic.
To check all the tools available at your disposal please visit https://znicrm.com/engage/
To get started create a new account from https://dash.znicrm.com/register.php and if you are already a registered user then visit https://dash.znicrm.com.
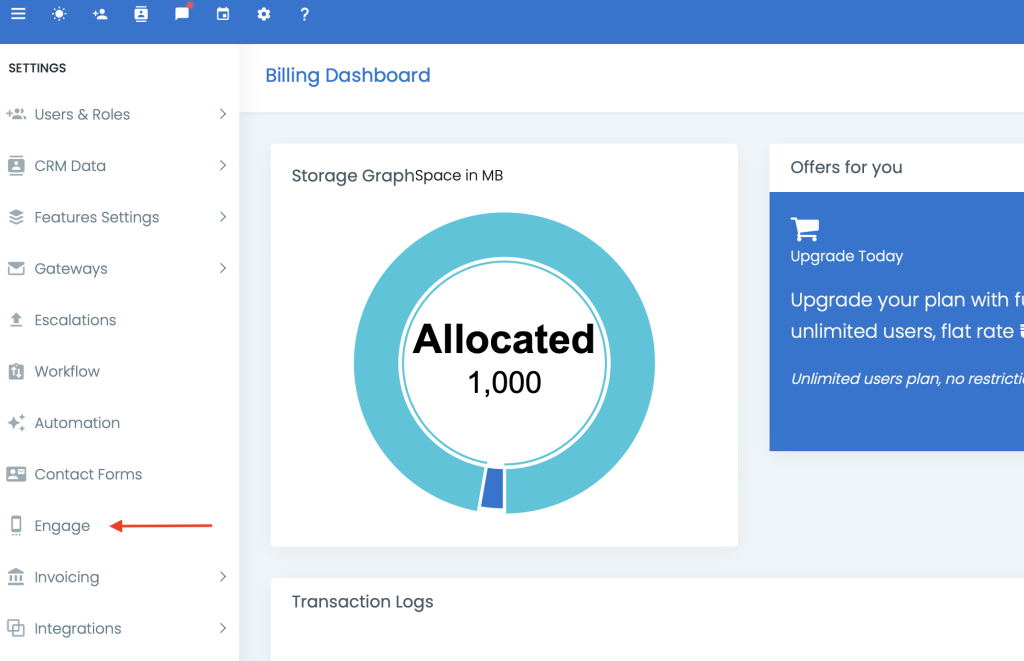
Once registered, goto Settings page (check here) and click on the Engage button on the left menu.
On the feature landing page you can add & manage your websites. You can add multiple websites from here. We recommend to add a new Engage tool for every website.
Click on the appropriate link based on your requirement.
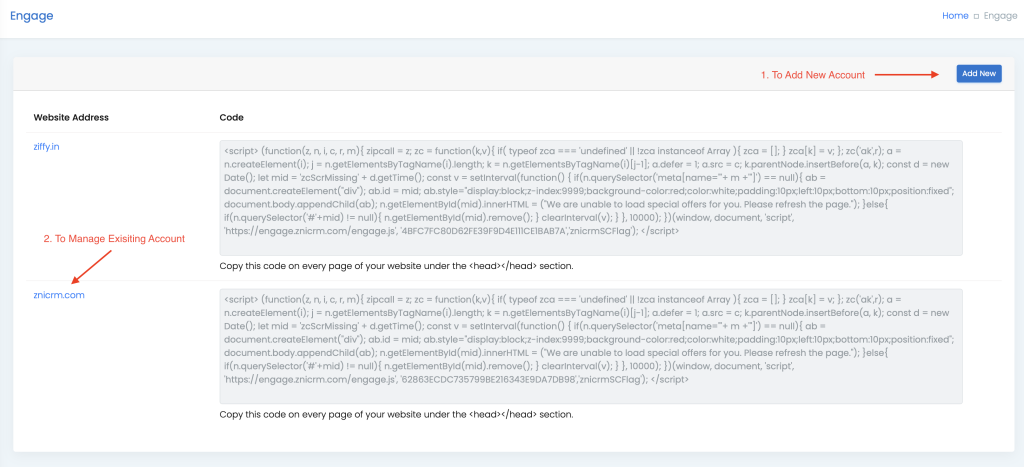
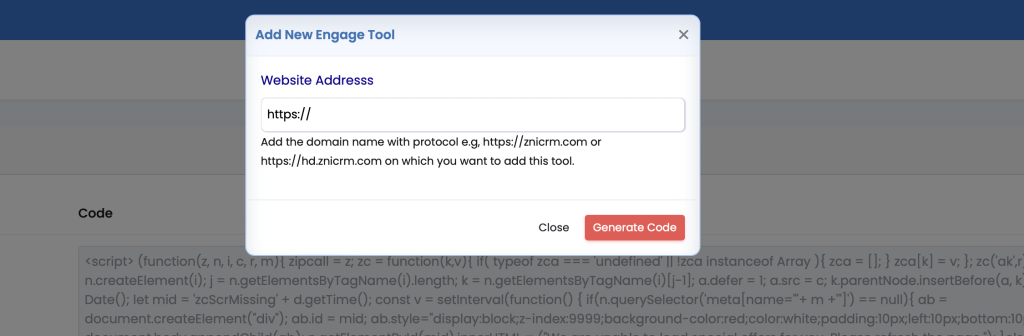
Adding a new website is pretty easy. Click on the “Add New” button (option 1) and fill in the website address. (Tip: Only add the root domain i.e., website address as znicrm.com instead of individual pages).
Once the website is added then click on the domain name as shown on the above image (option 2). This will open the settings page for the domain.
Add The Code To Your Webpages
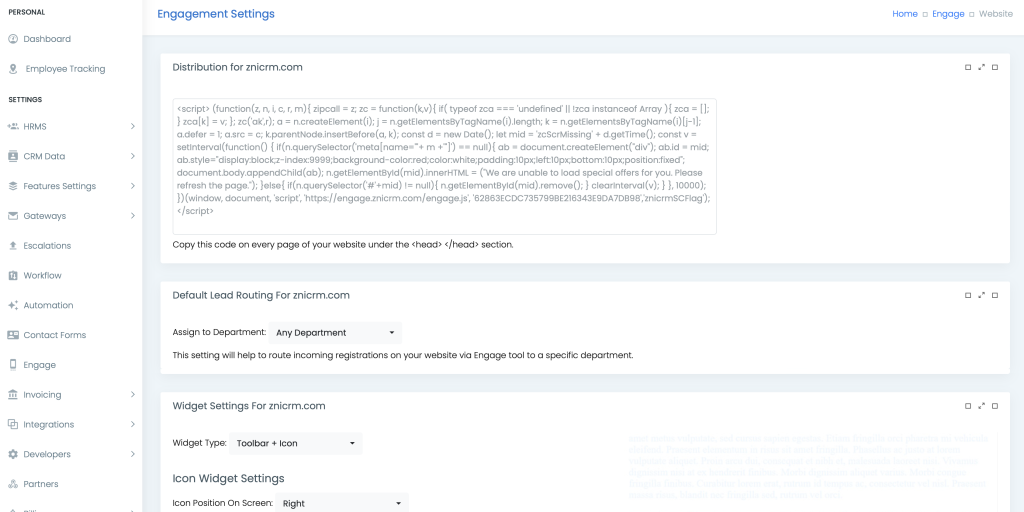
Before this tool starts working on your website you will have to add the Distribution code on each & every page of your website.
Distribution code is a four-live javascript code which you should add at the bottom of your webpage after the body closure </body> and before the HTML closure </html> tag. However, you can put the code anywhere on your webpage.

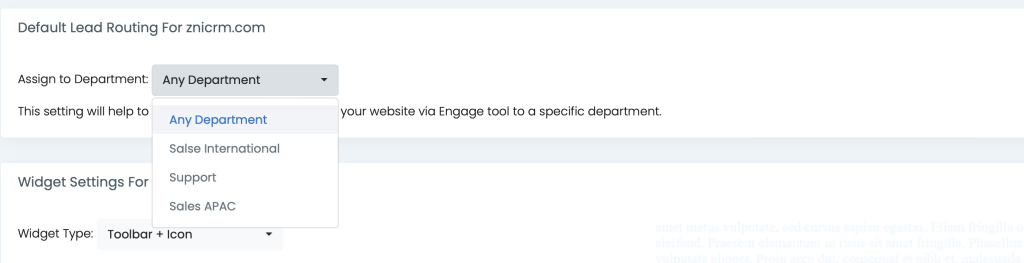
Configure Permissions To Route Leads
Before you can get the leads auto-assigned to your agents you will have to configure the CRM with basic settings and this includes the following;
- Add a new user (you can ignore this if you want to handle the leads yourself). You get five free users with your account. (Learn how to add new user.)
- Give the user “Web Leads” access from their profile page.
- Create a Department and add user to it. (Learn how to create a new department).
- On the website’s Engage setting page, select the department on “Default lead routing {your-domain}” block from the drop down. Leave it to “Any Department” if you do not want to route to specific department or you are the only person handling the leads.
Tip
If you are a single user then you can ignore all the above steps because as an admin you already have full access.
WordPress Plugin For ZNIEngage
If you are using WordPress then you can use the ZNIEngage WordPress plugin. You will need to upload the plugin to your plugins directory of WordPress installation then have to activate the plugin.
You can download the wordpress plugin from here.
For installation instructions please check the below given links.
How to install:
Via FTP:
https://www.wonderplugin.com/wordpress-tutorials/how-to-manually-install-a-wordpress-plugin-via-ftp/
Via Wordpress (Manual Upload):