Users are the basic blocks of CRM. Users can have different roles like System Admin, Sales Executive, Administrators, etc.
In the CRM, you can create multiple users and assign them role-based permission as per their access level.
Here, we will discuss creating a new User in the CRM system. You can also check our article about “User Roles”.
To add a new user, you must have an Administrator privilege in the CRM. By default, when you register an account, you get administrator privileges. So, always use your default account to create a new user or role to be safe.
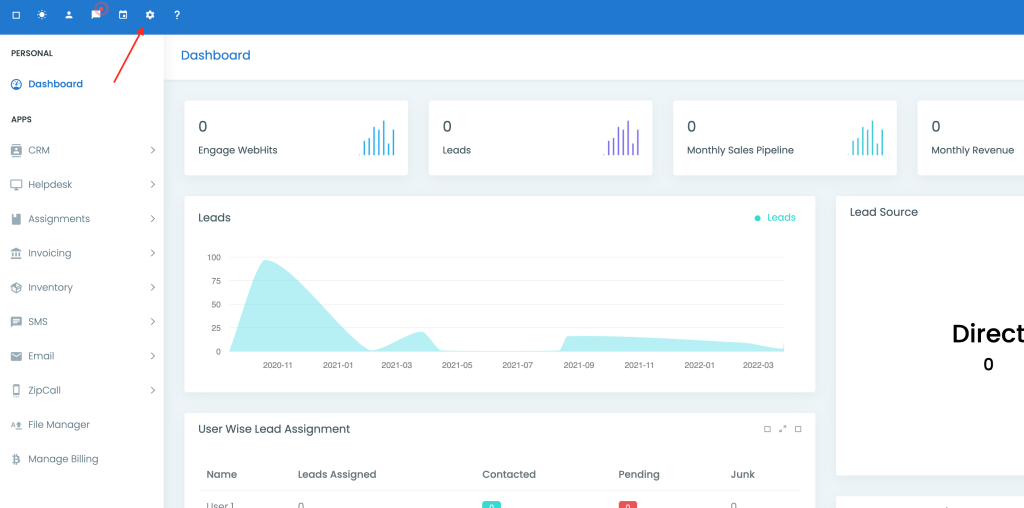
Go to Settings; The most straightforward way to go there is by clicking on the “gear icon” on the top bar.
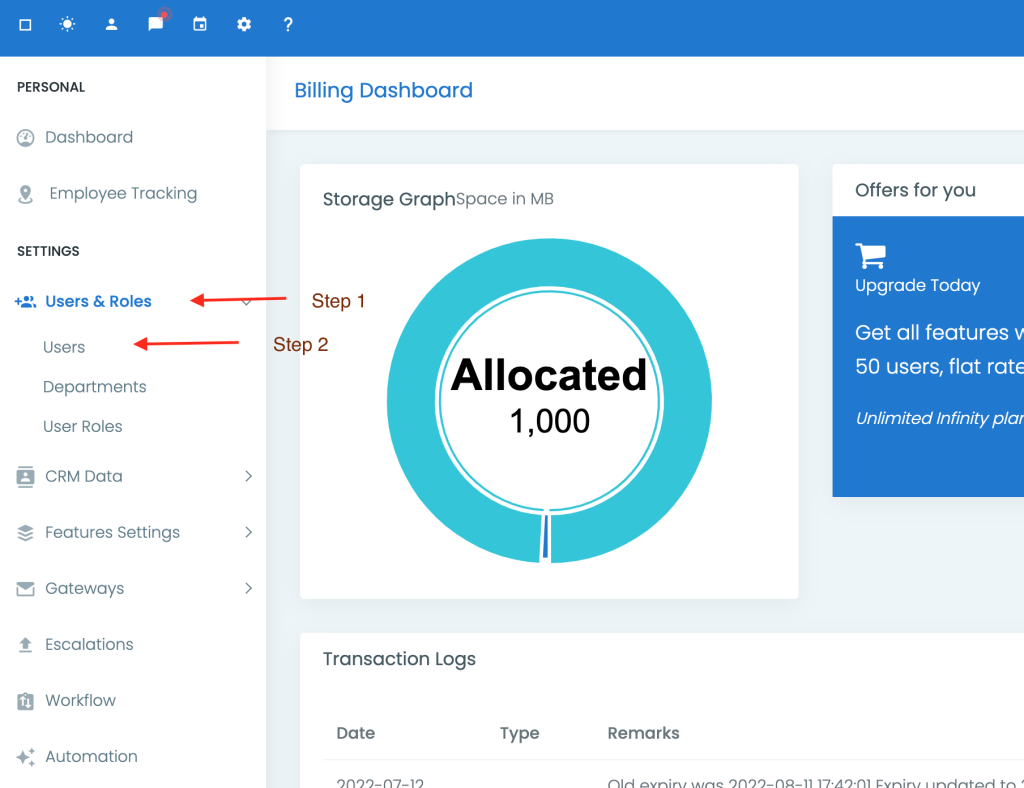
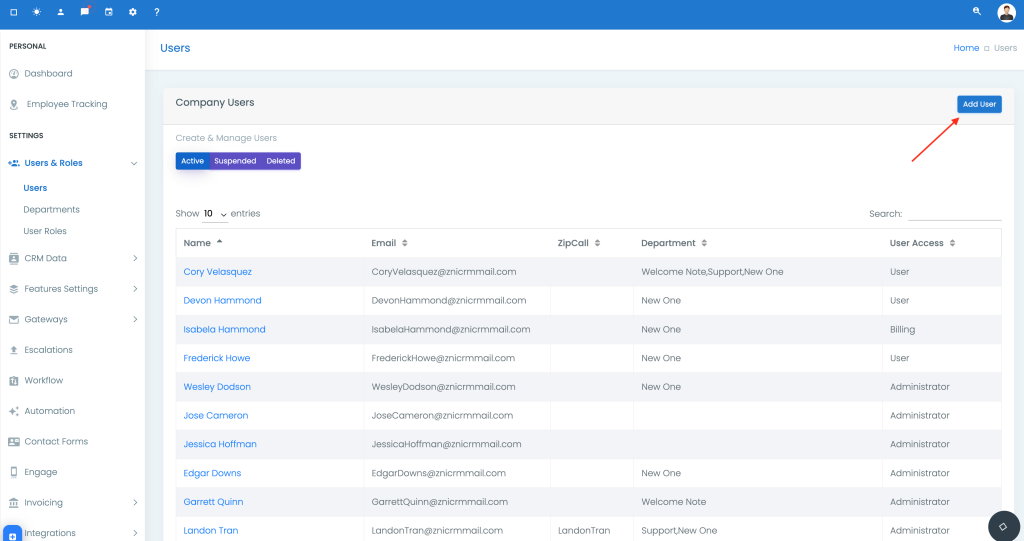
On the Billing page (this is where you will land when you click on the settings icon on the top), select “Users & Roles” from the left menu and then select “Users”.
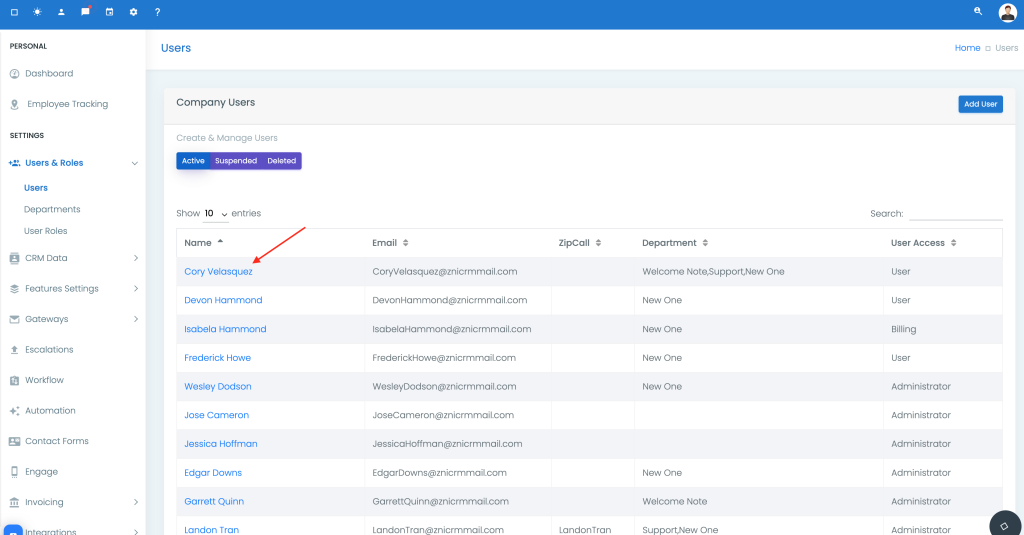
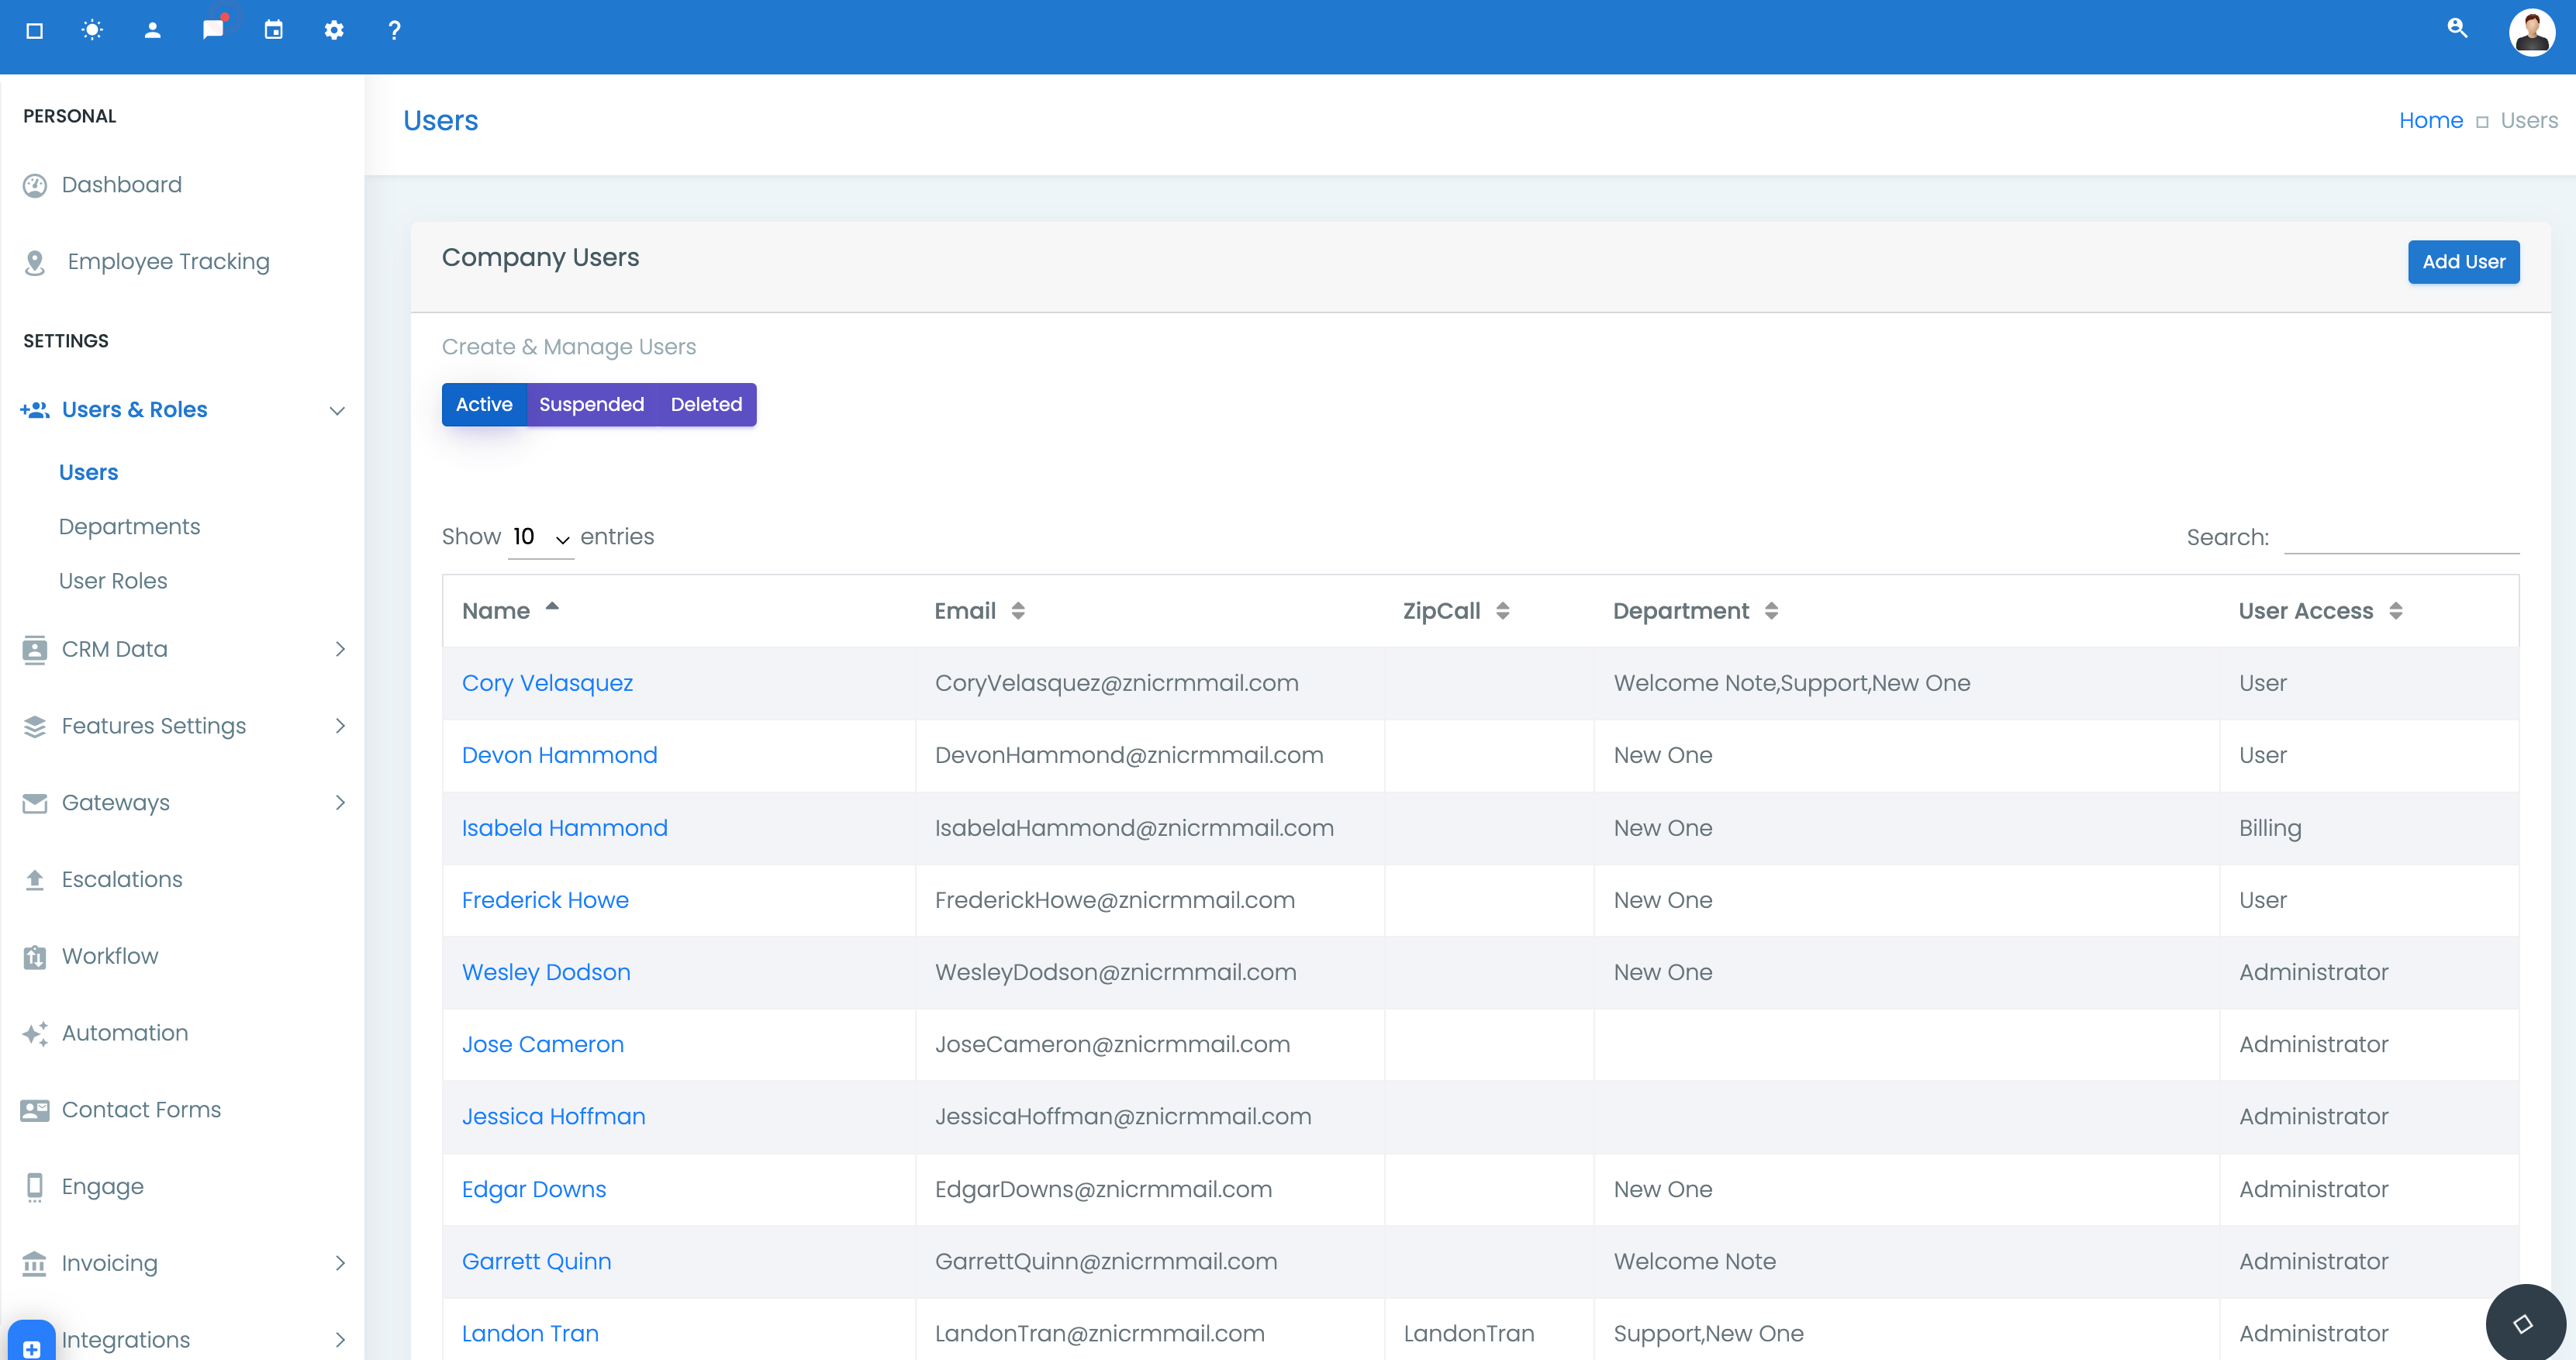
This page will also list all your active users and the options to list “Suspended” and “Deleted” users.

Now, click on the “Add User” button (top right, blue button) to open the popup to add user dialogue.
The popup fields are self-explanatory. It will ask you to enter the User’s name, email, and phone number along with their Department & Role.
You can leave the department field blank if you did not create any yet or if you do not want to add the user to a specific department.
Some users like your billing team, support team, administrators, IT team etc., need not to be assigned to a specific department at the time of creation.
You can always change the department of a user later.
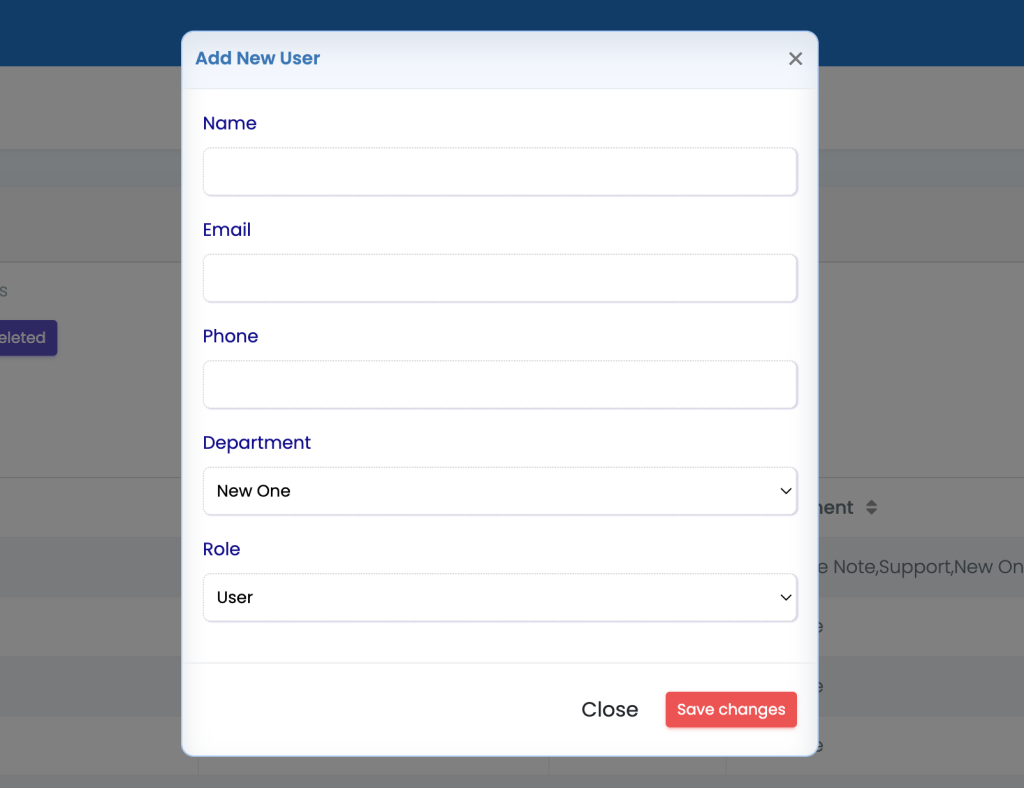
One thing you should keep in mind while selecting the Role for the user, i.e. unless you want to give full access to the user, always add them in a “User Role” (Administrator and User are the default roles) or else create (How to manage user roles) a separate Role and then add the user into it.
Click on the “Save Changes” button to add the user.
That’s it!! Your user has been created now.
But, they can not access the CRM yet as you will need to assign them licences to access specific features.
User Permissions/License
As soon as the user is created, you will be taken to licensing page. Here, you can assign the licenses of the specific features you want them to access.
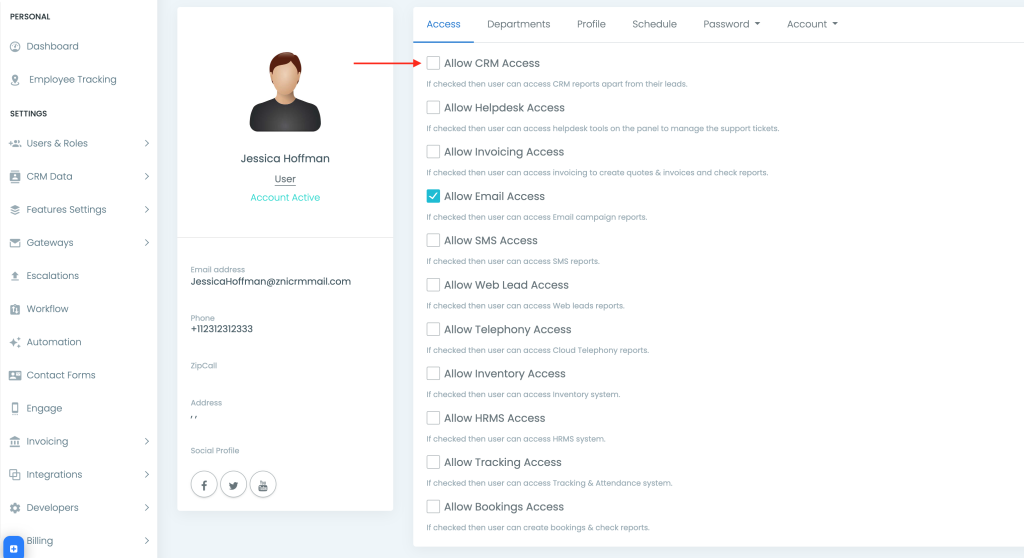
Click on the checkbox given before the feature to enable it. You can disable/remove the license from a user similarly.
If due to any reason, you have not taken to the permission page automatically or if you want to change the permission later for a user, then just go to Settings -> Users & Roles -> Users and then click on the name of the user for which you want to access the permission page.