Installation guide: CMS, script, iframe, CRM

How to add an AI chatbot to your website or CMS without rebuilding pages

Use this installation guide for WordPress, Wix, Webflow, Squarespace, HTML, PHP, and custom websites. Add the widget once, train it with approved website or knowledge-base content, connect CRM/helpdesk follow-up, and test the full visitor-to-lead path before going live.

CMSNo-code paths
1Widget snippet
CRMLead follow-up
Free plan available • No live-chat seat fees • Fast install
CMS ready
Lead captured

ZNI Install Helper

Guides CMS and website setup
Which website builder are you using: WordPress, Wix, Webflow, Squarespace, or custom code?
WordPress. I also need leads to reach CRM.
Paste the script through header/footer injection, train approved pages, then submit a test chat and confirm the lead in CRM.
WordPress AI chatbot setup with header/footer injection
Wix, Webflow, and Squarespace chatbot embed guidance
JavaScript snippet or iframe option for custom websites
AI training from website pages, FAQs, and support articles
CRM, lead capture, task, and helpdesk verification after install

Install the chatbot step by step

Follow this rollout sequence so the widget appears correctly and every captured lead or support chat has a clean destination.

1
Create bot and chat settings
Create a free account on ZNI AI Chatbot.
2
Add domain and pages
Add the domain, choose where the widget should load, and define whether the chat is for sales, support, or both.
3
Train approved content
Use approved website pages, FAQs, and knowledge-base articles so the bot answers consistently and escalates when needed.
4
Embed in your CMS or site
Paste the JavaScript snippet in your CMS header/footer area, tag manager, shared template, or iframe block where required.
5
Test CRM and helpdesk flow
Submit a test conversation, confirm it appears in Chats, then verify the contact, source, task, or ticket in CRM/helpdesk.

Choose the right install path for your website

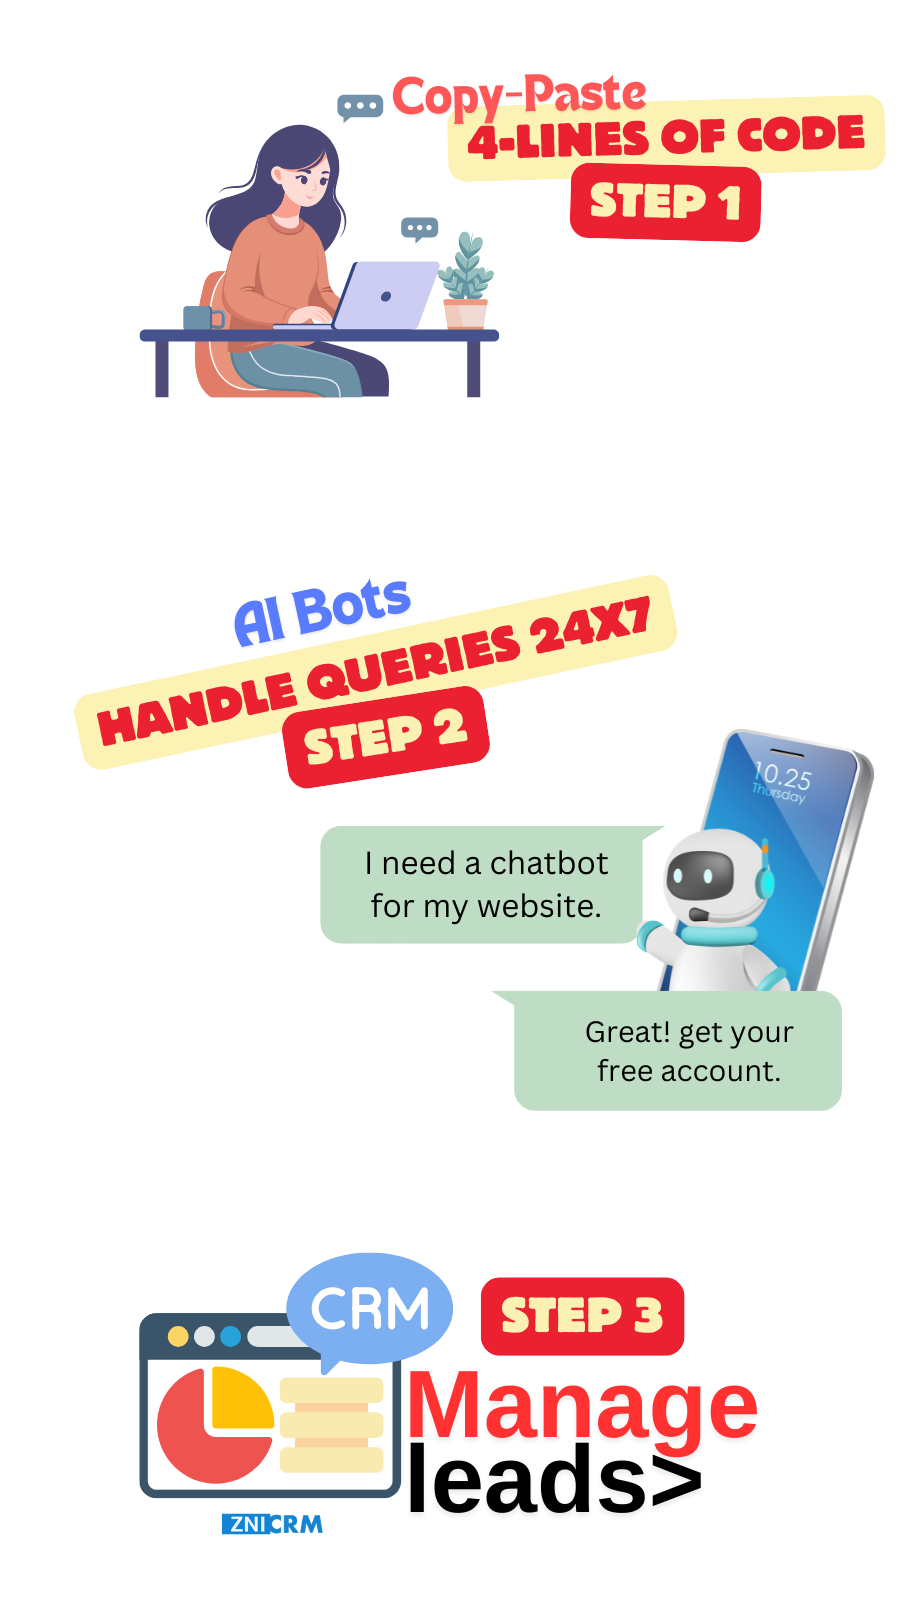
The method changes by platform, but the operational goal stays the same: visible widget, trained answers, captured leads, and clear escalation.

Install on WordPress, Wix, Webflow, or Squarespace

For WordPress, Wix, Webflow, and Squarespace, add the chatbot through site settings, header/footer injection, custom code, or embed blocks. This avoids theme rebuilds and keeps the setup manageable for non-developers.

  • WordPress header/footer injection
  • Wix and Squarespace custom code
  • Webflow site settings
NLU Chatbot

Use script or iframe for HTML, PHP, React, or custom websites

For custom sites, paste the JavaScript snippet into a shared layout so it loads across pages. Use an iframe only when your environment restricts scripts or requires an embedded frame.

  • Shared layout placement
  • Async JavaScript snippet
  • Iframe fallback when required
Personalization

Train answers before you send traffic to the widget

Train the bot on approved website content, support articles, FAQs, pricing notes, and product pages. Keep training content current so the assistant gives useful answers instead of generic replies.

  • Website pages and FAQs
  • Helpdesk knowledge-base articles
  • Escalation behavior
24/7 Availability

Verify the complete lead and support workflow

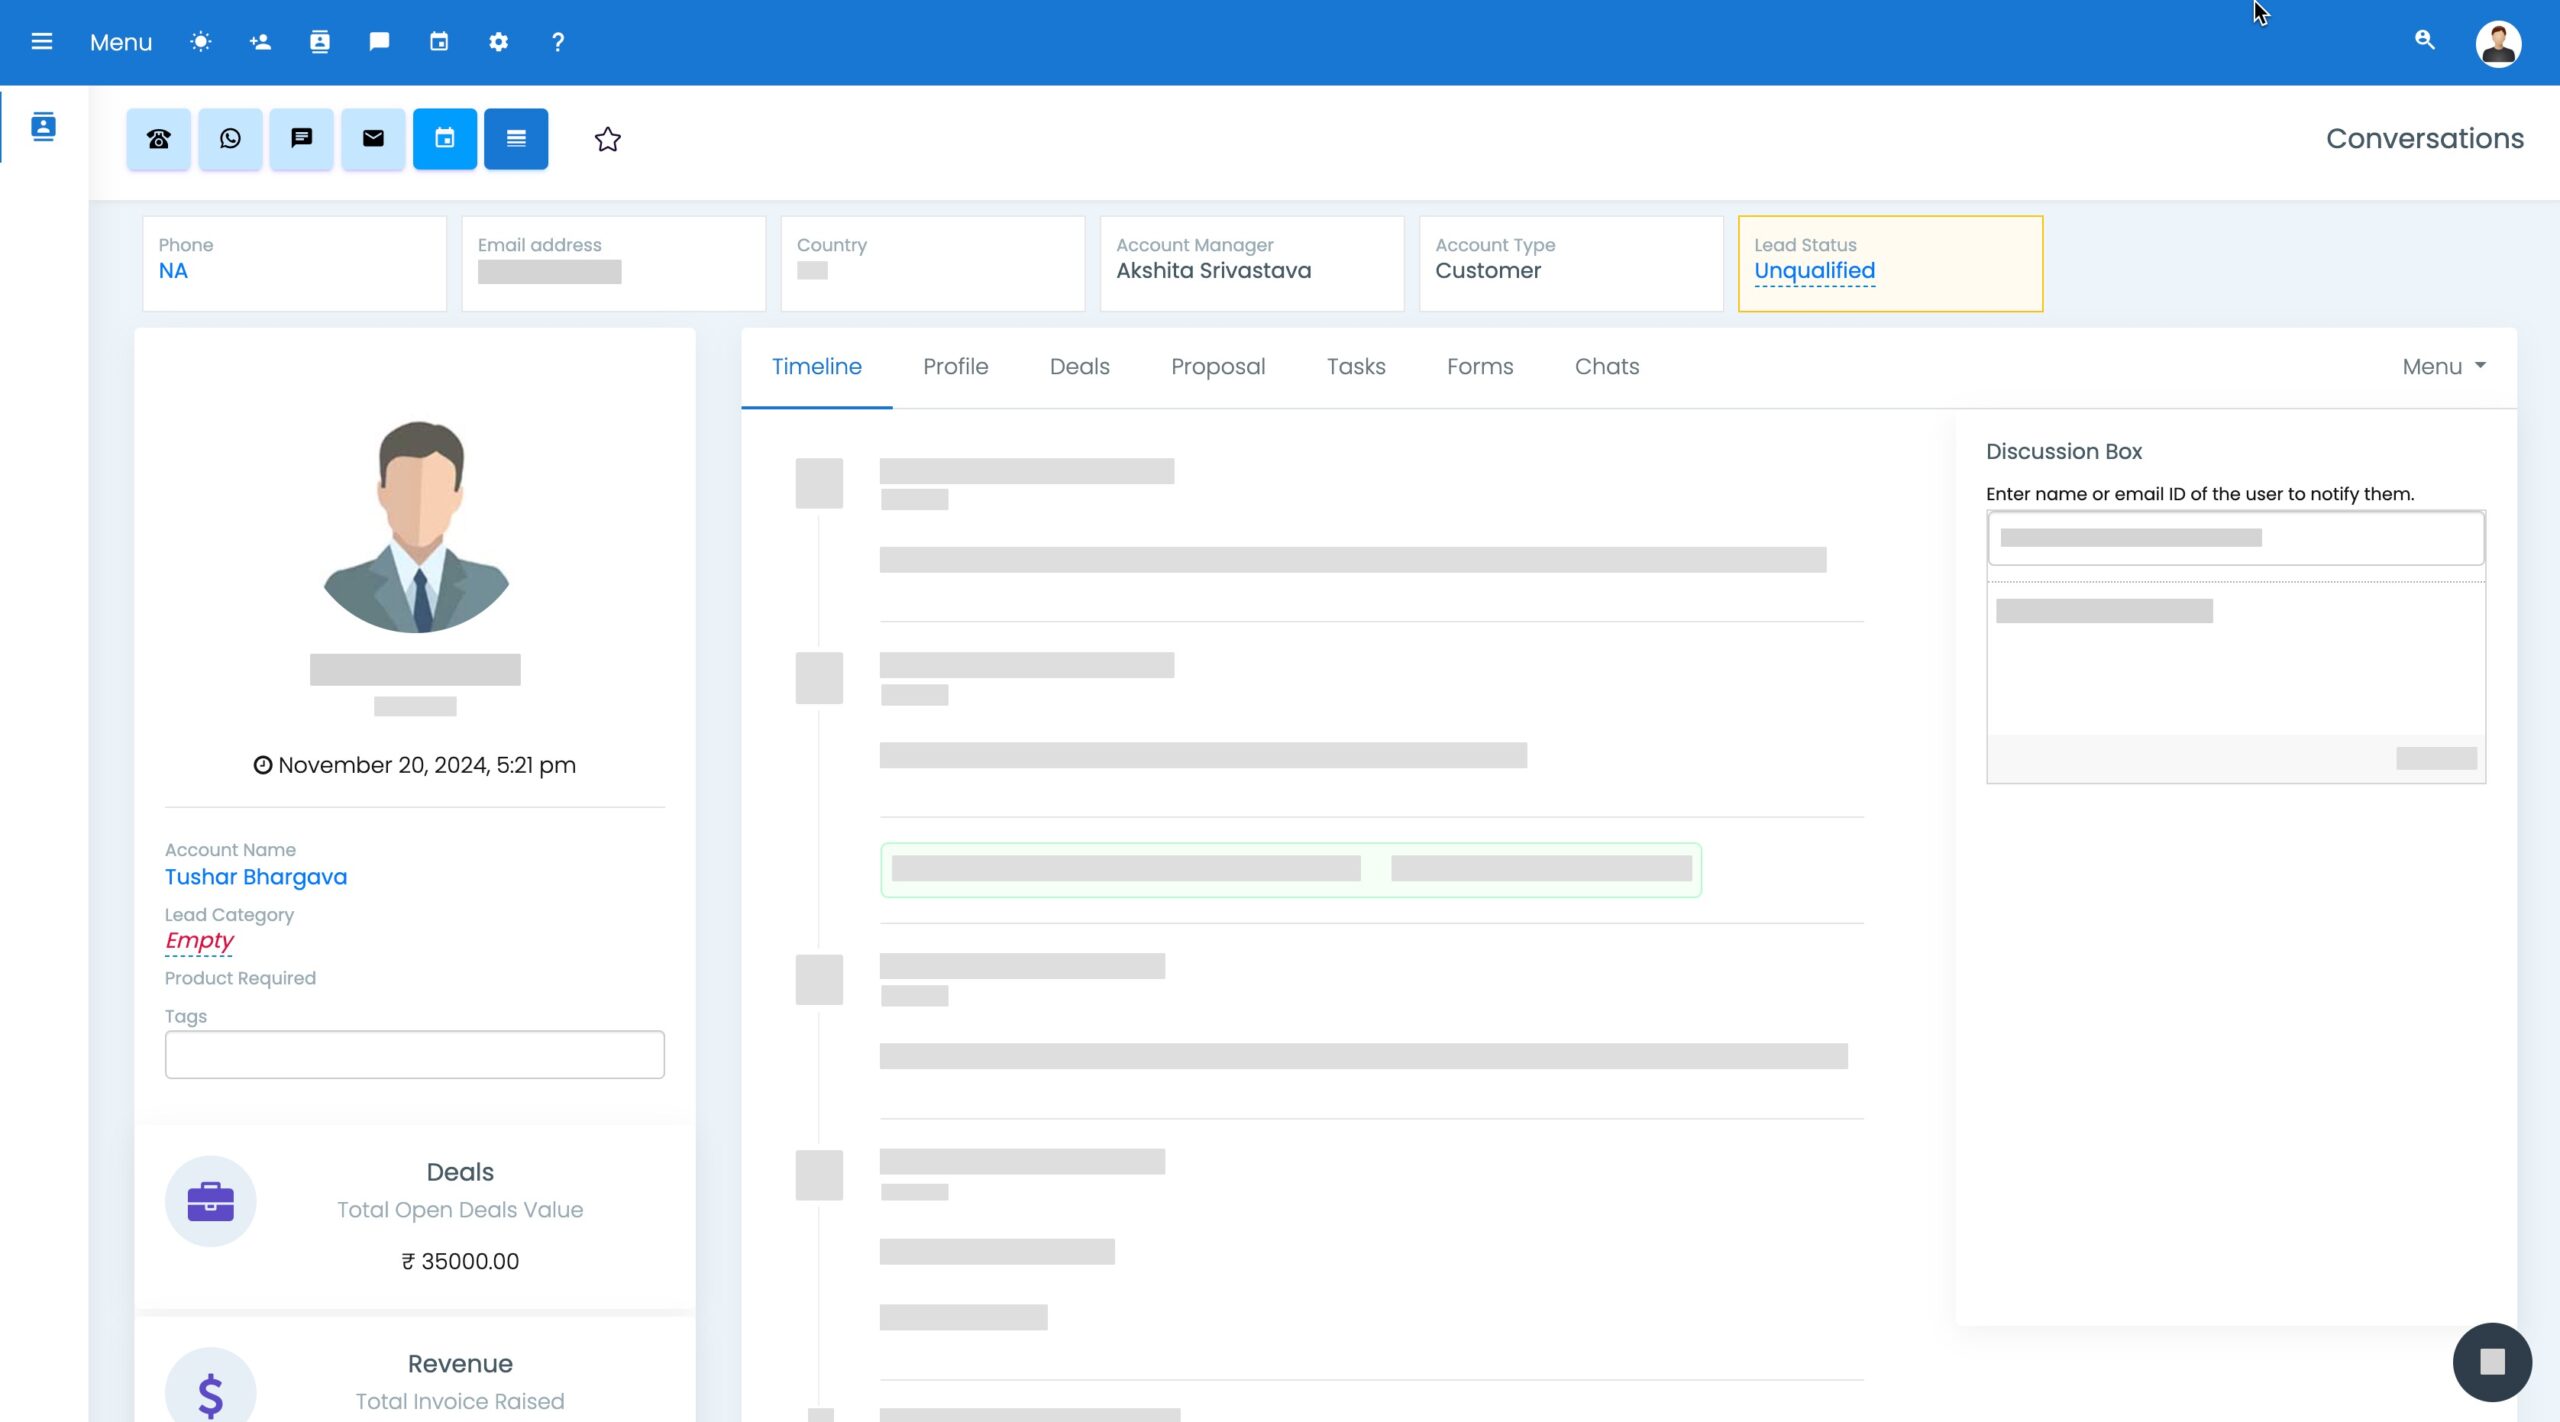
After publishing, test the widget on desktop and mobile, submit a test lead, check Chats, confirm CRM contact creation, and verify any ticket, task, or escalation rules.

  • Desktop and mobile checks
  • CRM lead verification
  • Ticket/task confirmation
Multi-Language Support

Install once, then manage conversations from one workspace

A good chatbot install is more than a visible bubble. It should connect chat settings, bot behavior, AI learning content, CRM lead capture, and helpdesk escalation into one repeatable workflow.

CMS and website embed options that fit real sites

Choose the install method that matches your platform and keep the widget easy to maintain after launch.

AI Chatbot

WordPress

Add the chatbot through header/footer injection, a script manager, or a theme-level code area.

Wix, Webflow, Squarespace

Use custom code, site settings, or embed blocks to load the widget across key pages.

Custom HTML, PHP, React, Next.js

Place the script in a shared template or app shell so the chatbot follows visitors across pages.

Iframe fallback

Use an iframe when script loading is restricted or an embedded frame is the safest deployment option.

CRM View

One dashboard for widget behavior, bot logic, and chat operations

Configure the widget, bot name, bot behavior, avatar, and response settings centrally instead of editing every page.

After installation, use the Chats module to verify conversations and monitor activity.

CRM, lead capture, and helpdesk tracking after installation

A chatbot should not create another inbox. Use the install to route visitor details into contacts, tasks, tickets, and follow-up workflows.

CRM Interface

Lead capture

Collect contact, company, phone, email, source, and message details from the conversation.

CRM contact creation

Confirm the test lead appears in CRM with source and owner behavior intact.

Helpdesk escalation

Create tickets when the bot cannot resolve a support question or needs human follow-up.

Tasks and reminders

Trigger follow-up work for sales or support teams after qualified chats.

Go-live checks that protect SEO and user experience

Before deploying sitewide, test the chatbot like a visitor and like an operations manager.

Engage Tools

Load check

Confirm the widget appears on the homepage, landing pages, blogs, and support pages.

Mobile check

Verify the chat button does not block navigation, forms, pricing, or checkout actions.

Answer quality

Ask pricing, product, policy, and support questions to validate training content.

Workflow check

Confirm chats, contacts, tickets, tasks, and handoffs appear in the right modules.

Avoid plugin sprawl after installation

Instead of adding separate chat, form, CRM, ticketing, and automation tools, keep the website chat workflow connected to the business records your team already reviews.

CRM
CRM

Capture website leads and keep chat history attached to the contact.

Invoicing
Help Desk & Ticketing

Turn unresolved questions into tickets with context.

Ticketing
Knowledge Base

Use approved articles and FAQs to improve answer consistency.

Automation
Automation

Trigger reminders, assignments, and follow-ups from chat outcomes.

Why ZNI works for CMS and custom website installs

Simple embed paths, central chatbot settings, AI learning content, live chat operations, and CRM/helpdesk follow-up in one system.

Why ZNI

CMS-friendly setup

Works through common header/footer or custom-code areas without rebuilding pages. Learn more

Training included

Use website, FAQ, and knowledge-base content so answers stay useful. Learn more

Lead path verified

Test web lead capture all the way into CRM before launch. Learn more

Support workflow ready

Escalate to chat agents or helpdesk tickets with context. Learn more

Easy iteration

Update bot behavior and training centrally after launch. Learn more

AI chatbot installation FAQs

Answers to common questions about WordPress, Wix, Webflow, Squarespace, script embeds, iframes, CRM, and helpdesk verification.

Use a header/footer injection area, script manager, or theme-level custom code field to paste the widget snippet once, then test the chatbot on desktop and mobile pages.

Yes. Use the platform's custom-code, site settings, or embed-block option to add the widget, then verify it appears on high-intent pages.

Not always. CMS users can usually paste the script without editing code files. Custom HTML, PHP, React, or Next.js sites may need a developer to place the snippet in the shared layout.

Confirm the widget loads, answers use approved content, chats appear in the chat module, leads reach CRM, and unresolved support questions create the right ticket or human handoff.